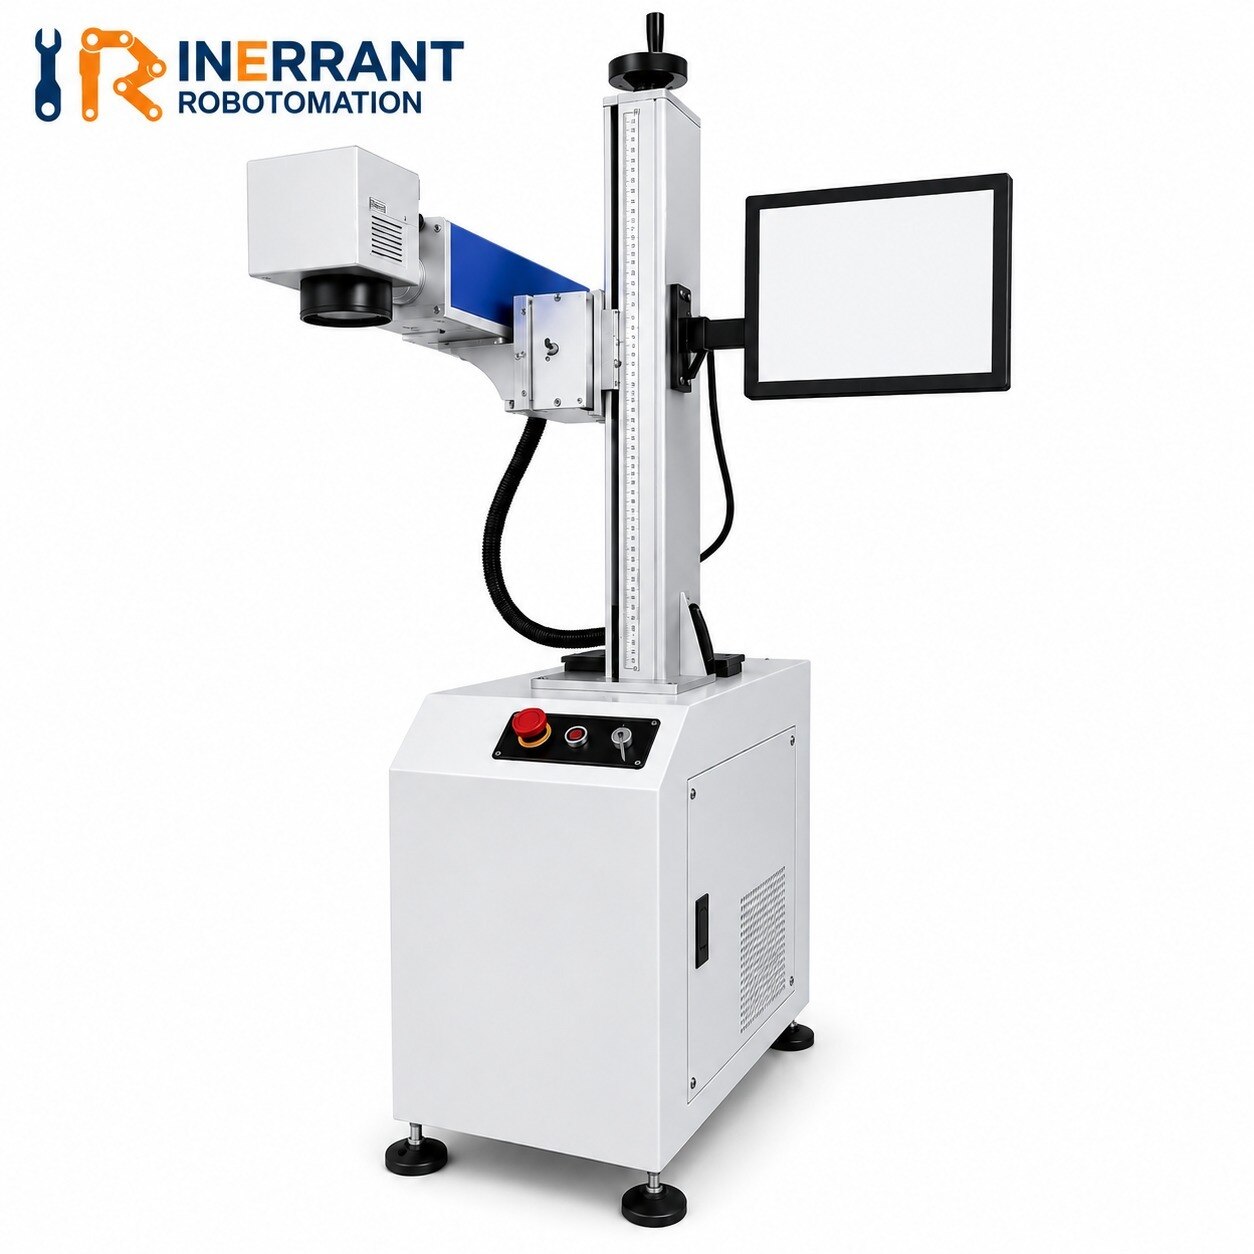
A fly laser system can produce poor marks even when the laser itself is healthy: an encoder can slip, extraction can foul an optic, or a conveyor stop can destroy product tracking. You will be able to check the motion, optics, air handling, safety chain, software, and recovery steps in the order that prevents avoidable downtime.
Key takeaways
- Verify encoder feedback and product speed before the first mark.
- Clean optics with approved materials after isolating and cooling the laser.
- Use mark quality evidence to set maintenance intervals, not calendar dates alone.
- Stop safely, record the fault, and recheck position data before restarting.
Synchronize the laser with the moving product
Fly marking triggers the laser while a product moves, using an encoder or product sensor to track position and launch the mark at the correct point. Unlike stop-and-mark operation, the conveyor does not pause; motion compensation stretches the scan path to match product speed.
| Operation | Trigger and motion | Main failure if settings are wrong |
|---|---|---|
| Fly marking | Encoder tracks conveyor travel while the sensor starts the mark | Shifted, stretched, or compressed characters |
| Stop-and-mark | Sensor stops the product before the laser fires | Lower throughput, but no flying compensation |
Before changing parameters, record these values for recovery:
- Actual conveyor speed during marking
- Encoder counts per millimetre or other unit of travel
- Encoder direction and pulse polarity
- Trigger-to-mark delay
- Product pitch and sensor-to-product timing
- Laser-to-product distance
- Encoder mounting position, coupling condition, and measuring-wheel contact
Keep this record with the fly laser engraving machine for maintenance; a saved recipe name cannot prove that its motion scale still matches the hardware. Changing conveyor speed without retuning compensation causes registration errors even when the laser and scan head work correctly.
Inspect for a loose friction wheel, slipping coupling, contaminated measuring wheel, or vibration before blaming software. Test sacrificial parts at production speed, then check registration, character height, readability, and contrast.
Use a startup checklist before the first mark
Before the first mark, confirm that utilities, motion, safety circuits, and the active job all agree. A machine that powers up can still produce misplaced marks, contaminated optics, or uncontrolled emission.
- Cooling: confirm chiller level, flow, temperature, and alarm status; for air-cooled sources, verify unobstructed vents and clean filters.
- Extraction: start the exhaust and confirm airflow at the pickup point. Do not run with smoke or fumes returning toward the scan head.
- Conveyor: check belt movement, guides, product pitch, and the actual speed shown by the controller.
- Encoder and sensor: verify encoder counts, product detection, trigger-to-mark delay, and sensor alignment using a test product.
- Safety: test each emergency stop, enclosure interlock, warning lamp, beam shield, and key switch. Never bypass an interlock.
- Controller: confirm no active safety, motion, communication, or laser-source alarms, then verify the home and tracking status.
- Software: load the approved recipe, check laser-to-product distance and marking direction, and confirm the latest parameter backup exists.
| Check | Ready signal | Do not run if |
|---|---|---|
| Cooling and extraction | Stable readings with no alarms | Flow, temperature, or exhaust fault appears |
| Motion and trigger | Product detection matches encoder movement | Counts, speed, or trigger timing is uncertain |
| Safety and job | Interlocks pass and the correct recipe is loaded | Any bypass, alarm, or unverified job remains |
Protect the optics and remove contamination safely
Disable the laser, remove the key, isolate power as required by the machine procedure, and let the optic cool before inspection. Never inspect a protective window or focusing lens while emission is possible.
Use angled light to look for metal dust, oil film, smoke staining, plastic-fume haze, condensation, scratches, chips, or a cloudy patch. Check the optic before each shift in dirty applications; contamination increases absorption, heats the part, reduces mark contrast, and can permanently damage it.
Control the source before opening the scan head:
- Run extraction and confirm airflow at the enclosure inlet, not only at the fan. Poor capture leaves smoke on the optic; excessive airflow can spread dust or move lightweight packaging.
- Remove loose debris with the approved low-contamination vacuum method. Do not brush debris across the optic or blast it with unfiltered compressed air.
- Clean only with the optic supplier’s approved solvent, lint-free swab, and wiping pattern. Ordinary shop wipes can shed fibres, carry oil, or scratch coatings.
- Replace a scratched, pitted, cracked, or persistently hazy optic. Do not polish it.
After cleaning or replacement, verify the working distance and focal position on a test product. A visible mark can still have poor edge quality when the product sits outside the usable depth of focus.
Schedule maintenance around quality evidence
Tick off measured evidence, not just “machine OK.” During fly laser engraving machine maintenance, record temperatures, airflow, alarms, encoder condition, and sample-mark quality so a trend appears before registration fails.
| Interval | Checks | Evidence to record |
|---|---|---|
| Daily | Confirm laser-source status, scan-head window, cooling temperature and level, extraction airflow, conveyor tracking, encoder coupling, photoelectric sensor, cabinet alarms, and frame damage. Run a known sample and compare position, scale, and line width with the approved reference. | Chiller reading, exhaust reading, encoder observation, sensor response, sample photo, and operator initials |
| Weekly | Clean accessible extraction points; inspect conveyor guides, encoder wheel or shaft coupling, sensor alignment, cabinet fans and filters, cable glands, earth connections, and loose frame fasteners. Review alarm history and backup the active recipe. | Before-and-after photos, alarm export, backup filename, and replaced-part record |
| Monthly | Verify encoder counts per unit distance, trigger-to-mark delay, product pitch, and laser-to-product distance against the controlled record. Check focus, field registration, scan-head mounting, safety interlocks, coolant condition, extraction performance, and cabinet temperature. Trend sample marks for scale, orthogonality, and line width. | Signed measurement sheet, calibration sample, coolant and filter status, and open corrective actions |
Set intervals tighter for high duty cycles, abrasive dust, poor extraction, or lamp-pumped and CO₂ sources. Escalate repeated drift or alarms for qualified laser engraving machine service rather than repeatedly resetting the controller.
Shut down correctly and recover from an unexpected stop
Pressing Reset without locating the stop can mark the same product twice or apply a job to the wrong part. Identify the cause first: safety-chain stop, conveyor or encoder fault, communication failure, laser-source fault, or process-quality alarm.
For a planned shutdown, use this order:
- Stop product feeding, then stop the conveyor after the last tracked part clears the marking zone.
- Inhibit laser emission and close the shutter if the equipment provides one; never rely on software alone when an interlock or emergency stop is active.
- Keep extraction running long enough to remove residual smoke, then inspect the protective window for deposits.
- Save and back up the active recipe, job file, counters, and alarm log before switching off the controller.
After an unexpected stop, record the conveyor position, encoder count, trigger history, active recipe, and last confirmed mark. If the controller cannot verify encoder position and trigger history, quarantine every part in the affected tracking window. Re-establish a known product sensor and encoder reference before automatic marking resumes.
Check the encoder wheel, coupling, shaft, mounting, and cable for slipping, contamination, or vibration. For fly laser marking machine recovery, run sacrificial parts at production speed and inspect registration, character height, code readability, and contrast before releasing production. A stopped-conveyor test can hide timing errors.
Know when calibration or specialist service is required
Stop troubleshooting and arrange qualified laser engraving machine service when a safety-chain alarm returns, an interlock has been bypassed, the source will not reach stable output, the scan head makes abnormal noise, or marks remain wrong after checking the recipe, focus, product position, and encoder signal.
Classify the fault first as safety, motion or encoder, communications, laser-source, or process quality; restarting without recording the stopped product position can create duplicate marks, skipped products, or wrong-part marks.
After source, scan-head, field-lens, or encoder work, require documented acceptance tests:
- Verify focal position and working distance at the actual product height.
- Mark a calibration grid to check field geometry, scale, orthogonality, registration, and usable depth of focus.
- Compare line width, edge quality, contrast, and mark position with an approved reference sample.
- Run the conveyor at production speed and verify encoder scale, direction, pulse polarity, and registration across several products.
- Test enclosure panels, beam shields, warning indicators, emergency stops, key control, and every access-door interlock.
Check extraction at the enclosure inlet, not just at the fan. Whether the work comes from Inerrant or another provider, do not release the machine until these results and changed parameters are recorded.
Related product
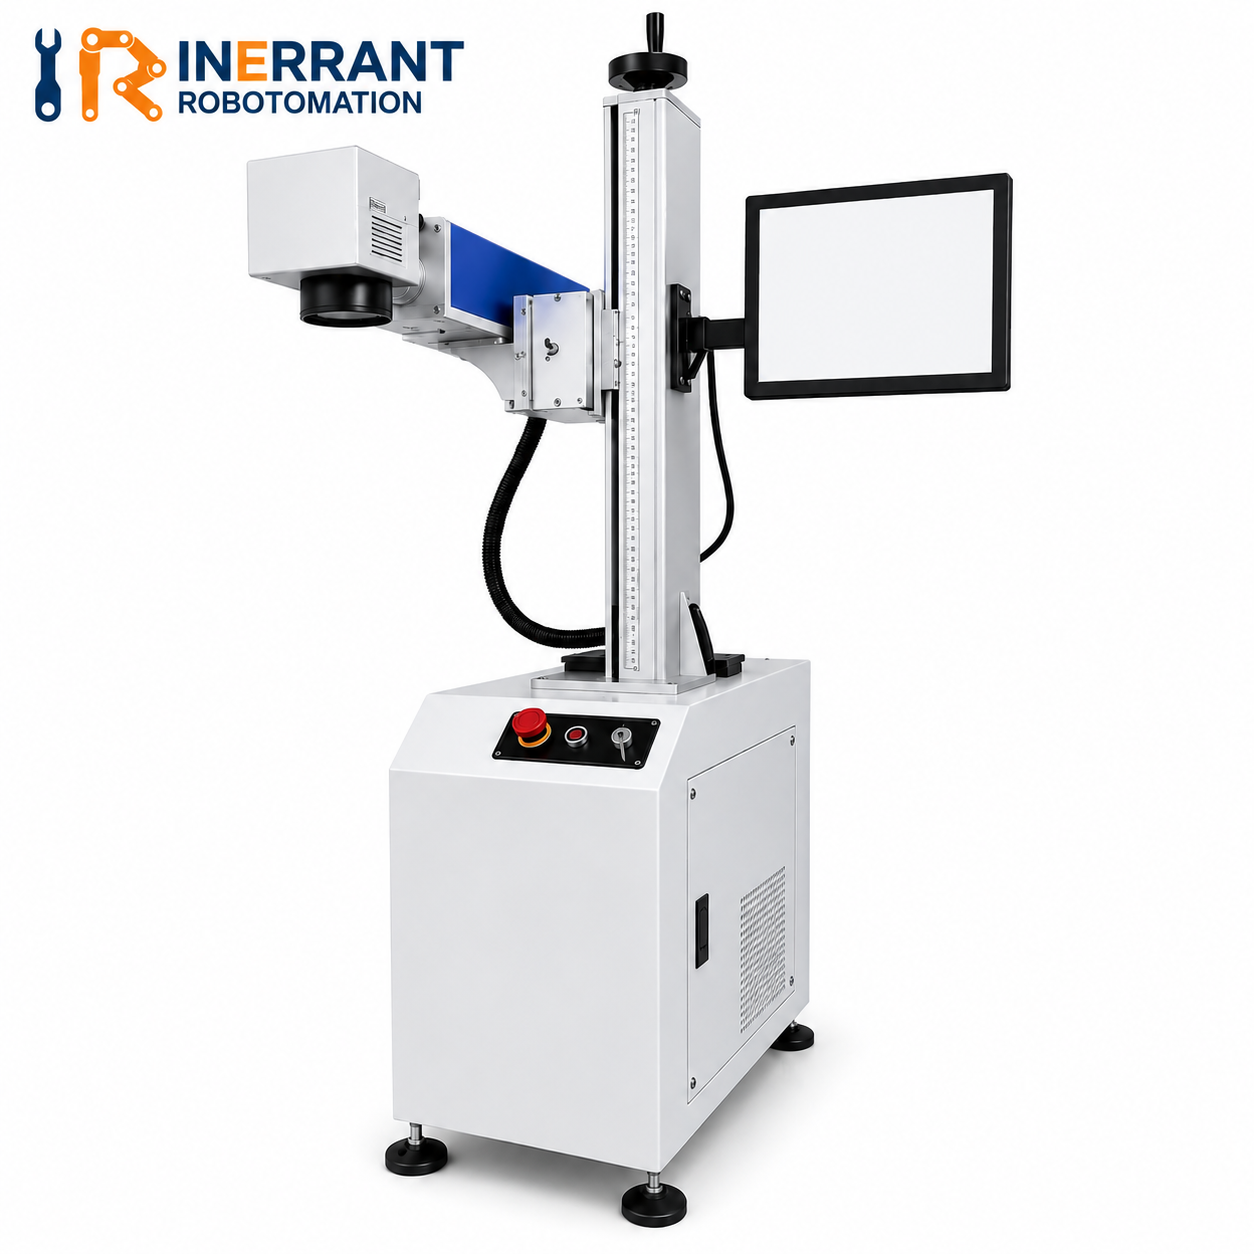 | Laser Marking Machine Inerrant Robotomation Pvt. Ltd. is proud to offer fly laser marking machines, a revolutionary technology for adding permanent and precise markings to... View product → |
Frequently asked questions
How do you synchronize a fly laser with a moving product?
Use the encoder or product sensor to provide position and speed feedback, then verify that the trigger point and motion-compensation settings place the mark correctly while the conveyor runs.
What should you check before starting a fly laser marking machine?
Confirm guarding, extraction, cooling, air supply, product position, encoder feedback, recipe selection, focus, and test-mark settings before releasing production.
How should you protect and clean laser optics?
Prevent dust and process fumes from reaching the lens, isolate the laser, let hot components cool, and clean contamination with the approved lens-cleaning method rather than touching the optic.
When does a fly laser marking machine need specialist service?
Arrange laser engraving machine service when calibration drifts, marks remain distorted after checking speed and encoder data, alarms recur, optics are damaged, or safety functions fail.